RBAC, also known as Role-based Access Control, is there for a while. In a nutshell, idea is to assign roles to users or groups of users, then leverage those roles to authorize actions from within applications. So, once a user is authenticated, we are able to claim for his roles for a given application. Combining both authentication and authorization, developers are able to fine-tune application behavior.
Deployment
Stack is composed by a Blazor WASM application bound to Keycloak to perform authentication and authorization. A PostgreSQL instance allows for Keycloak persistence. Stack can be locally deployed through docker compose.

Keycloak setup
Leveraging docker compose, you can locally deploy a Keycloak instance at http://localhost:8089.
Admin credentials are default ones, ie user and bitnami.
Create a new OpenID Connect client, here rbac-client, from Clients | Create client. Client ID is used by the application to ask for scoped credentials.
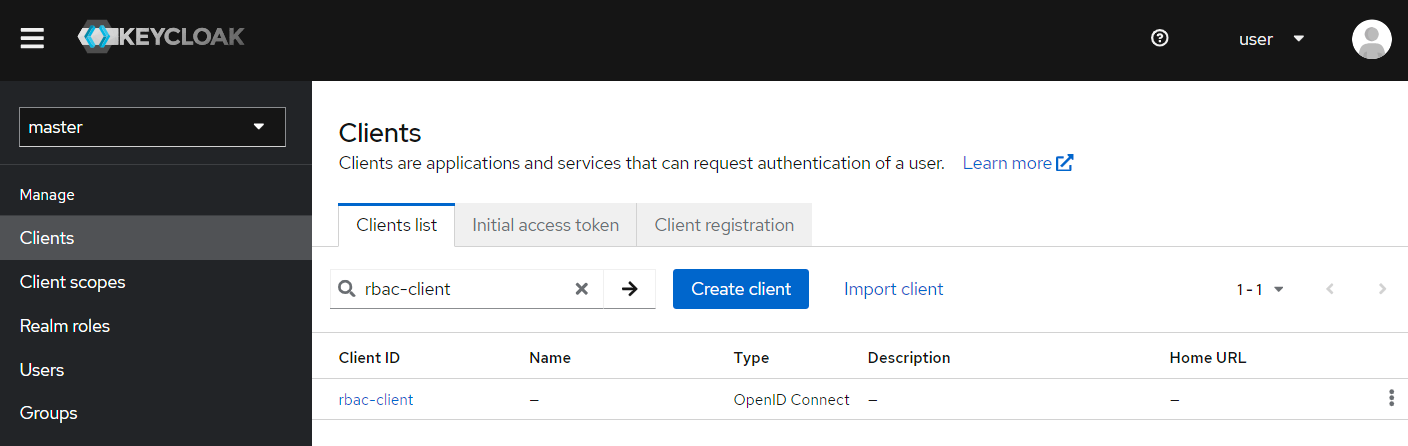
Pay attention to enable both Client authentication and Implicit flow, and to fill in Valid redirect URIs and Web origins. All remaining fields can use their default values. You can refer to client export for the exhaustive setup.
Select this brand-new client and browse Client scopes | rbac-client-dedicated, then Add mapper | By configuration | User Client Role, here .NET Client role. It will allow from the application side to claim roles for a given user from within the received token. All application frameworks do not necessarily perform the same way, that’s why we named it with a .NET prefix. Important piece there is Token Claim Name, aka the the key you will used on the application side to claim for authorization.
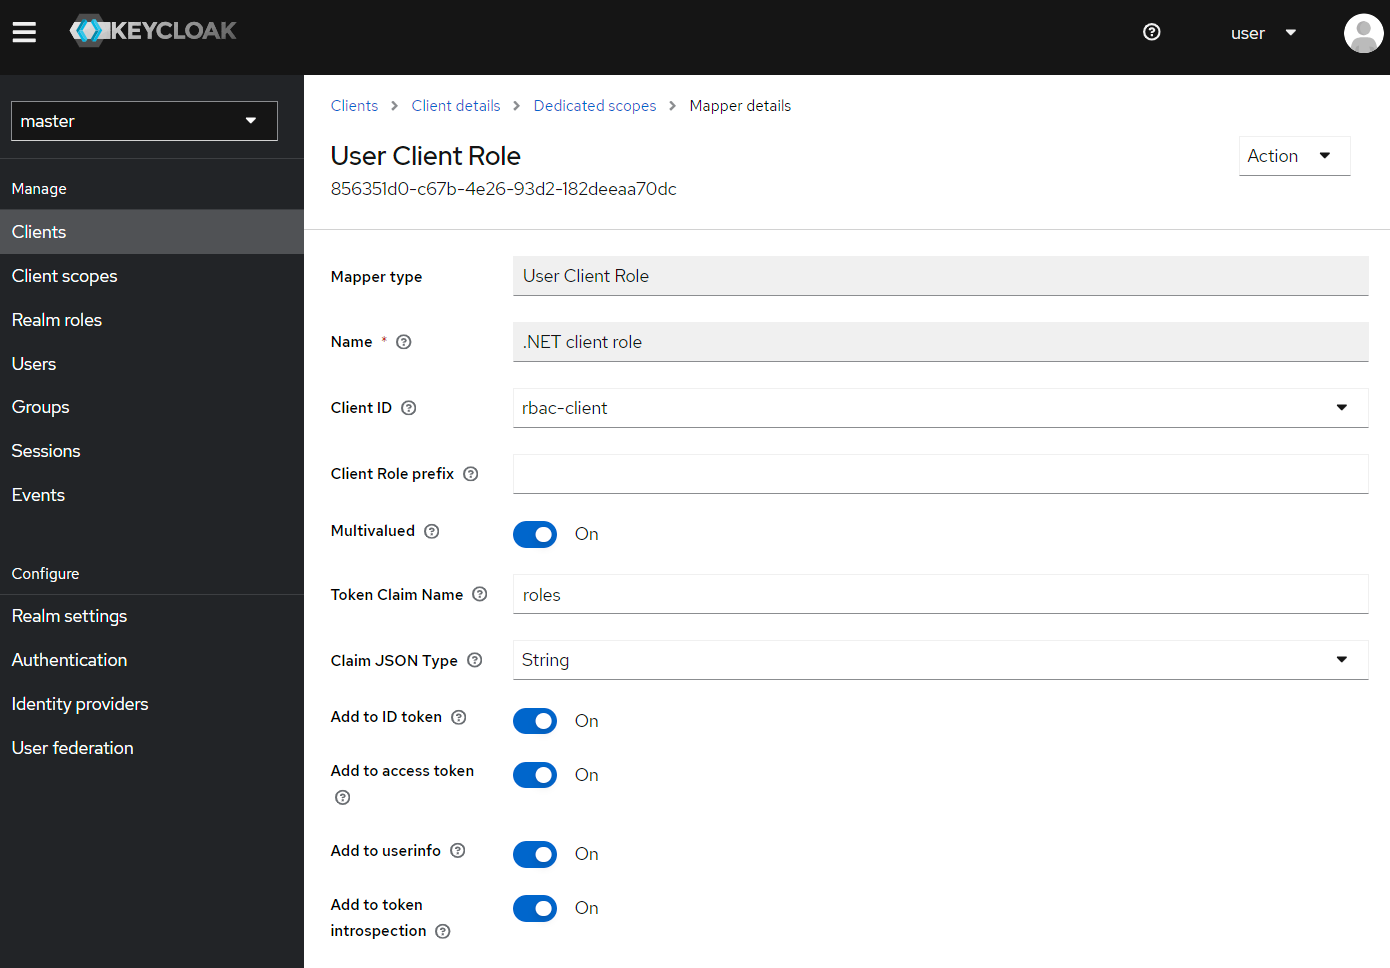
Note that this client and client-scope setup can be exported to replicate configuration.
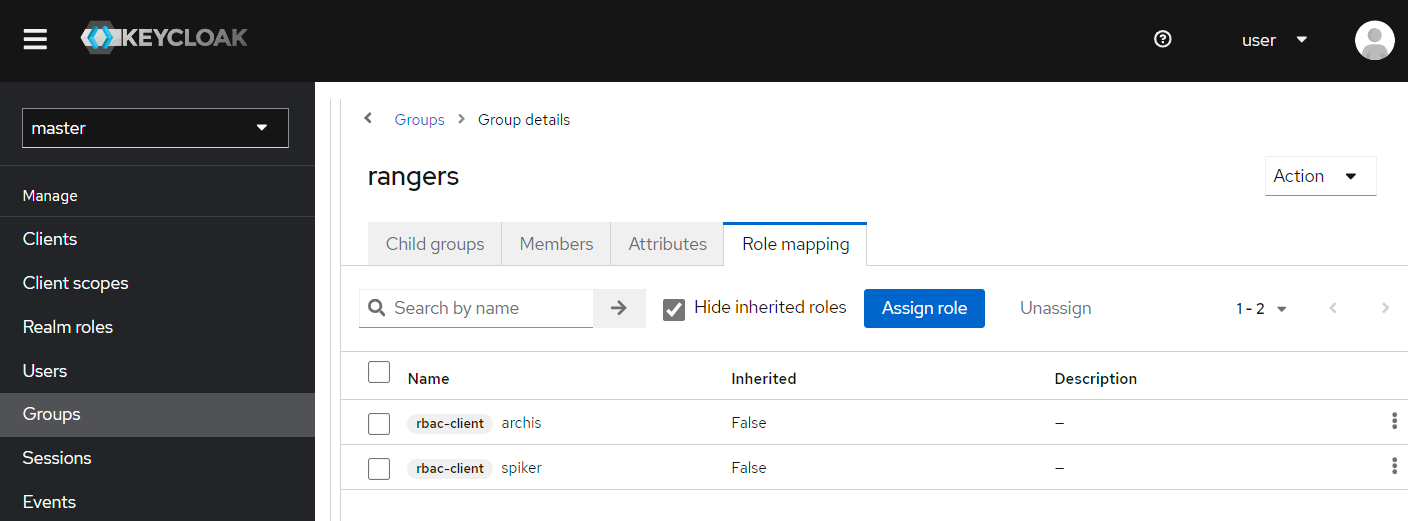
Define application roles through Roles | Create role, here spiker and architect. Those roles are usually defined per application, but may be defined for a set of application to enforce UX consistency. Naming and semantic will benefit from guidelines to streamline usage and management.
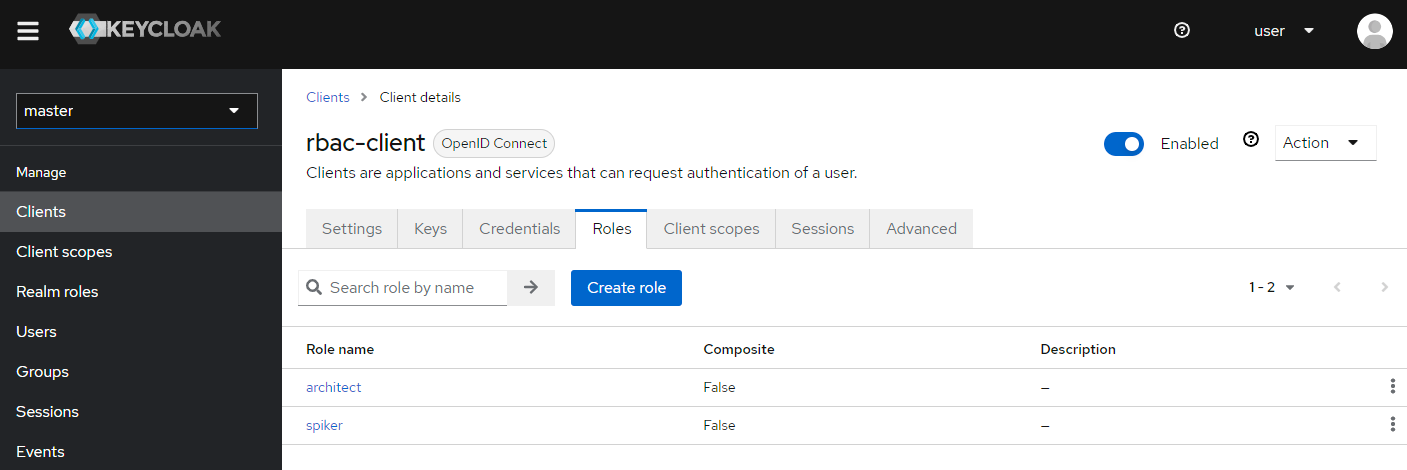
Previous operations have to be done per application.
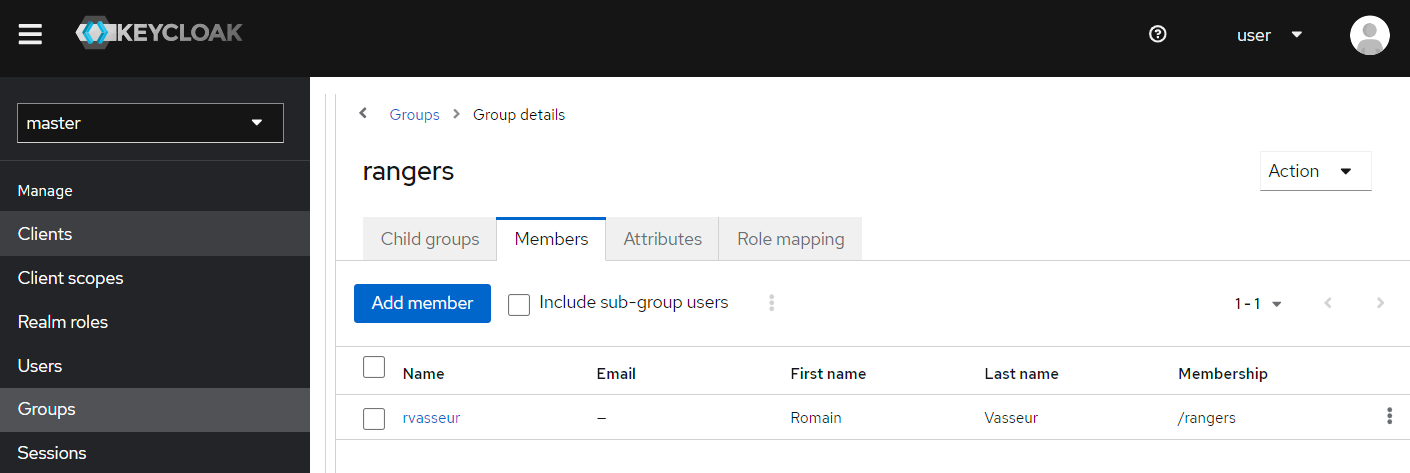
Create a user through Users | Add user, here rvasseur, and add a password to it. We have to there because our Keycloak instance is not bound to an existing structure, such as GitHub or Azure Active Directory.
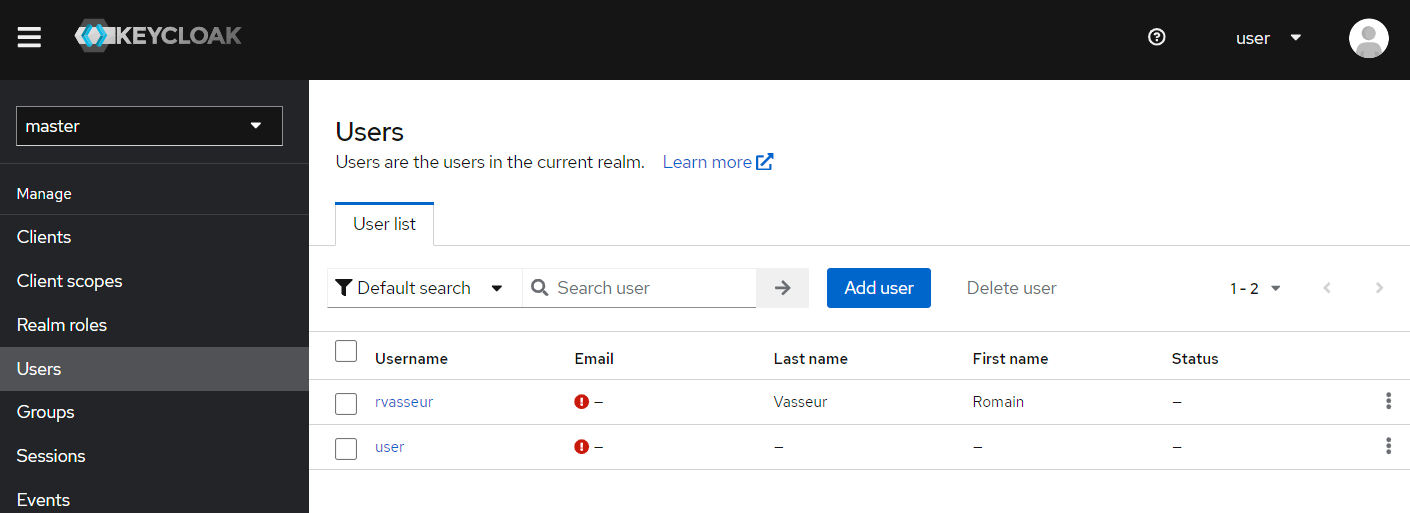
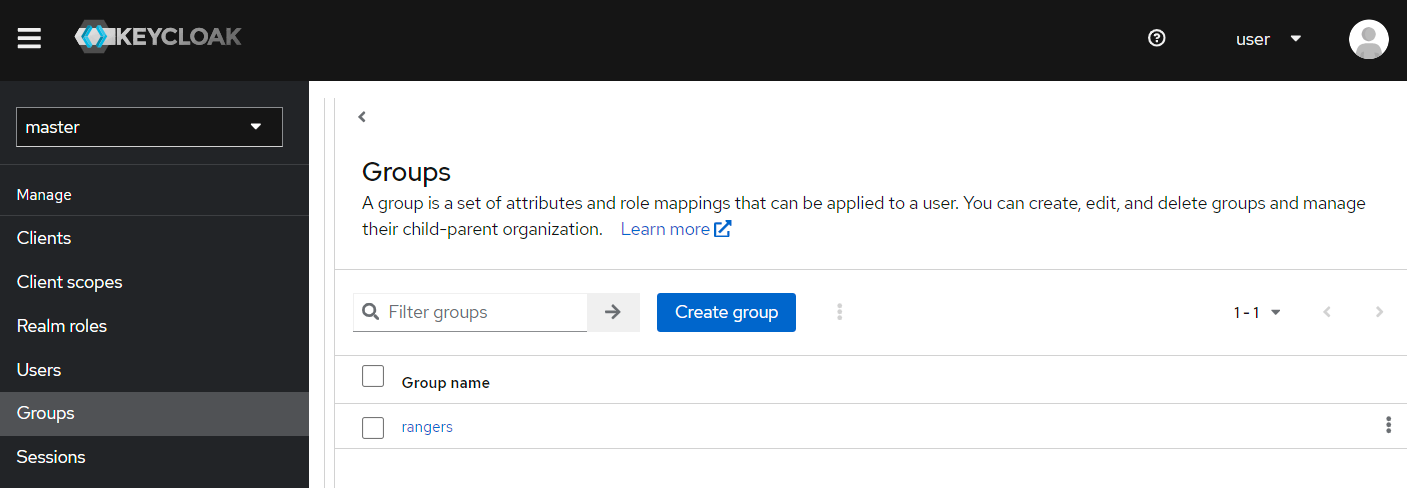
Create a group through Groups | Create group, here rangers.
Add members to the brand-new group.
And finally assign roles.
Note that this step is both tedious and error prone. Thus, it may highly benefit from rules and automation. Keycloak exposes a REST API that we could probably leverage to do so.
We now have an operational Keycloak setup we can exercise from our application.
Application setup
Code snippets has been extracted from the Blazor WebAssembly Standalone App template with Individual authentication enabled.
1
|
dotnet new blazorwasm --auth Individual -o XXX
|
Ensure you have proper authentication setup.
1
2
3
4
5
6
7
8
9
|
builder.Services.AddOidcAuthentication(o =>
    {
        // Retrieve settings
        builder.Configuration.Bind("Local", o.ProviderOptions);

        // Override poor default, ie http://schemas.microsoft.com/ws/2008/06/identity/claims/role
        // Must match `Token Claim Name` used when defining the `User Client Role`
        o.UserOptions.RoleClaim = roles;
    });
|
Modify appsettings.json according to Keycloak setup.
1
2
3
4
5
6
7
8
|
{
    "Local": {
        // Keycloak instance
        "Authority": "http://localhost:8089/realms/master",
        // Keycloak client ID
        "ClientId": "rbac-client"
    }
}
|
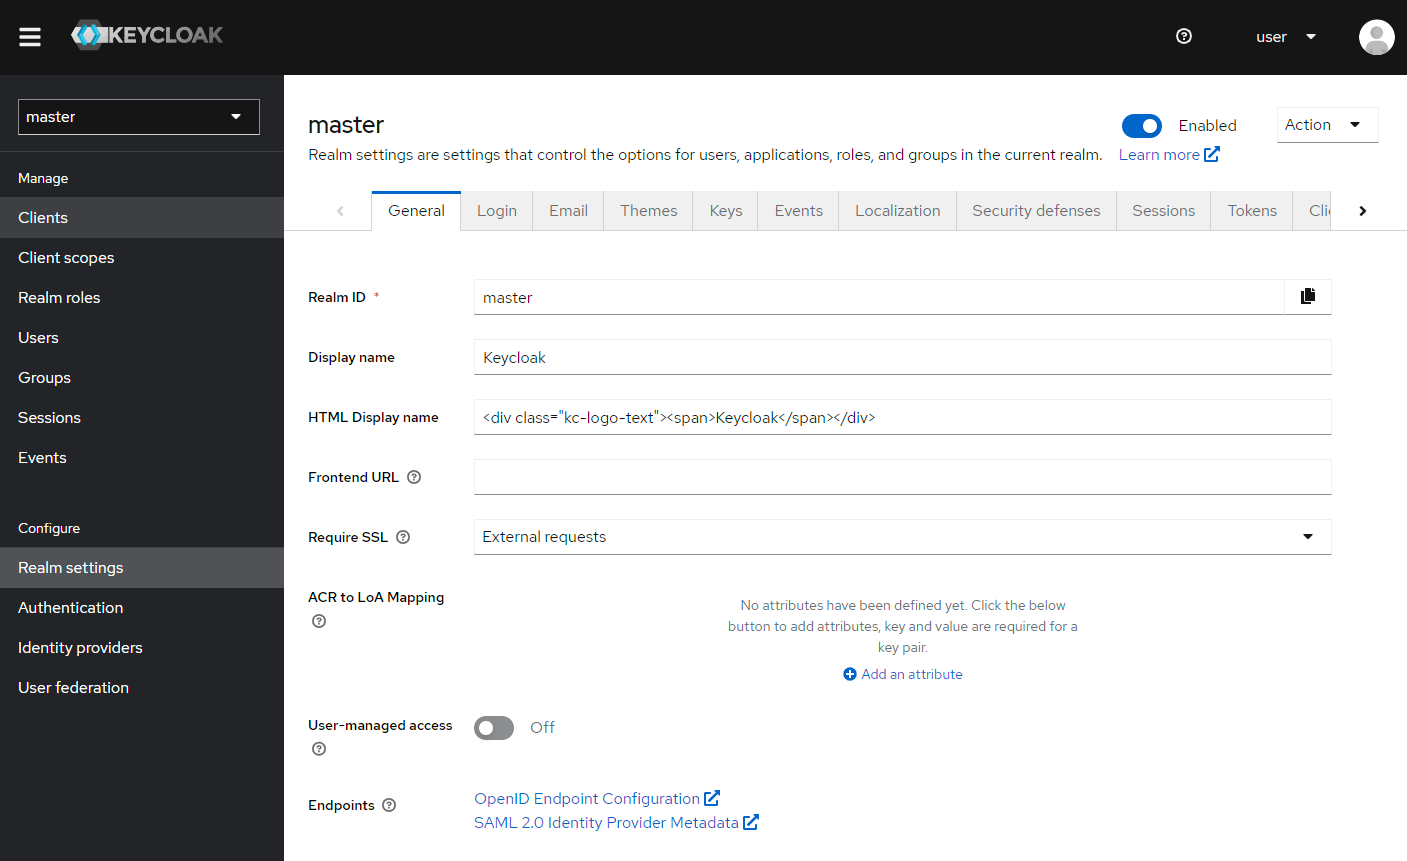
Authority must match Keycloak issuer properties that can be found from Realm Settings | OpenID endpoint Configuration.
Leveraging docker compose, you can locally deploy your blazor application instance at http://localhost:5000/.
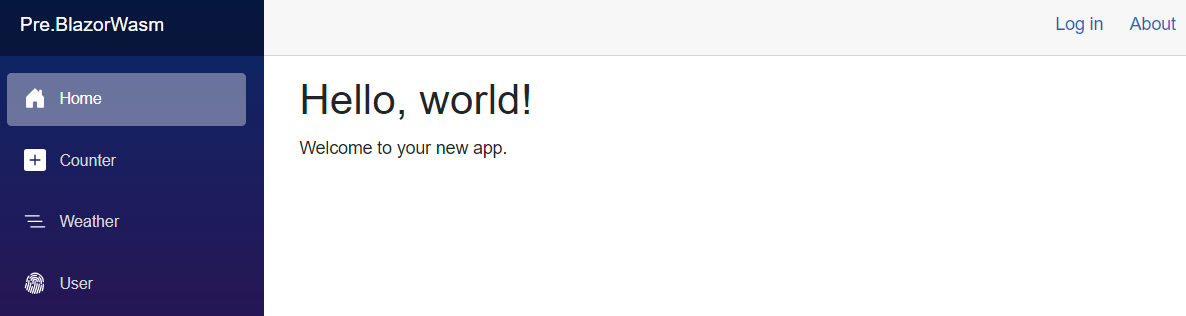
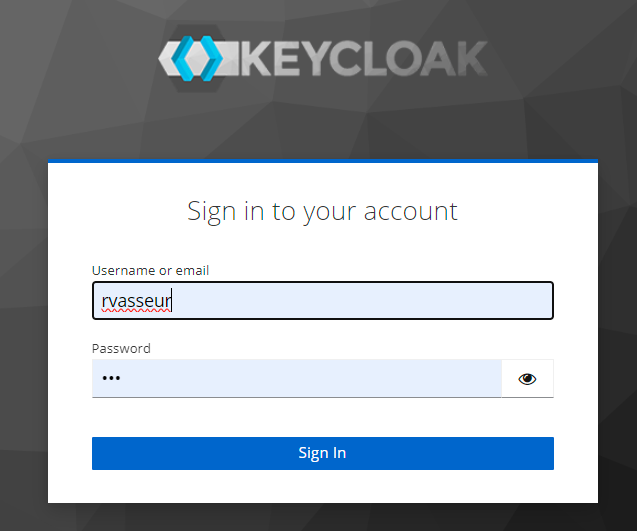
Then, engage login ceremonial by clicking matching button. Application will redirect you to a Keycloak prompt you can fill in accordingly.
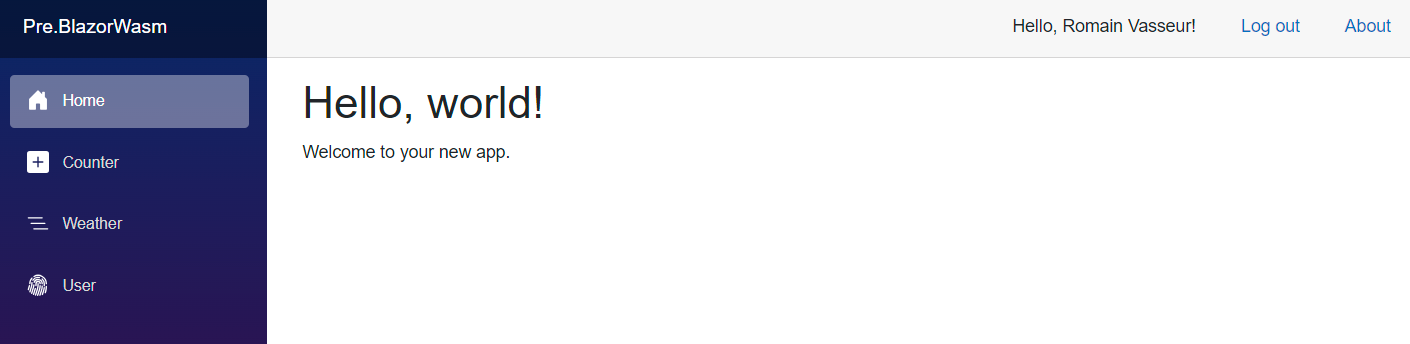
After completing the login sequence, authentication pipeline brings you back to the Application, now properly authenticated.
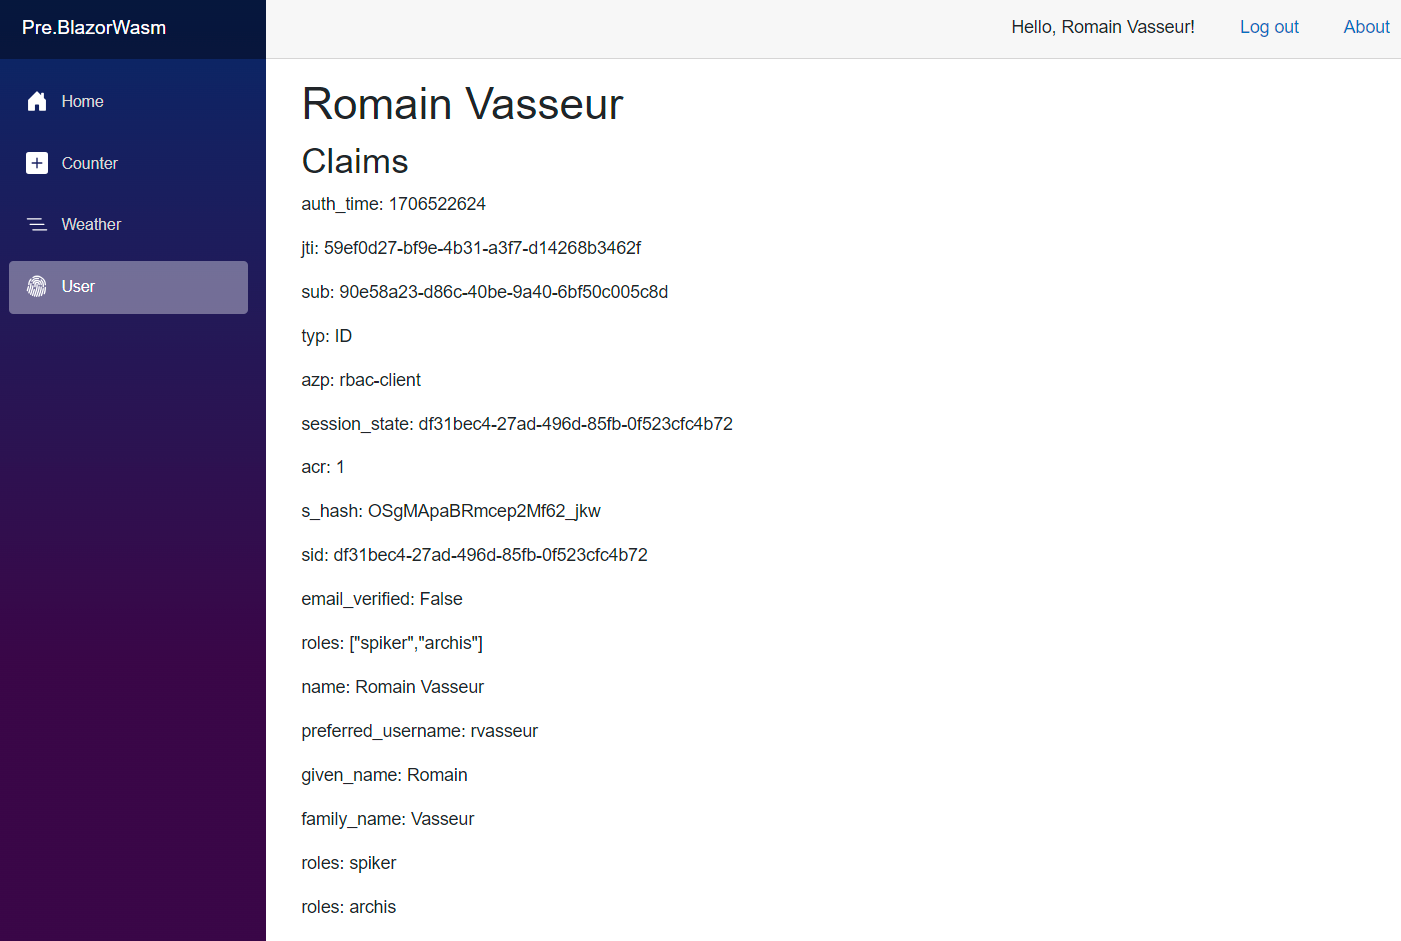
Once in place, you can browse token insights, eg by declaring a dedicated razor view.
 1
 2
 3
 4
 5
 6
 7
 8
 9
10
11
12
13
14
15
16
17
18
19
20
21
22
23
24
25
26
27
|
@page "/User"
@using Microsoft.AspNetCore.Authorization
@attribute [Authorize]
@using System.Security.Claims

<h1>@AuthenticatedUser?.Identity?.Name</h1>

<h2>Claims</h2>

@foreach (var claim in AuthenticatedUser?.Claims ?? Array.Empty<Claim>())
{
    <p class="claim">@(claim.Type): @claim.Value</p>
}

@code {
    [CascadingParameter]
    private Task<AuthenticationState> AuthenticationState { get; set; }

    public ClaimsPrincipal AuthenticatedUser { get; set; }

    protected override async Task OnInitializedAsync()
    {
        await base.OnInitializedAsync();
        var state = await AuthenticationState;
        AuthenticatedUser = state.User;
    }
}
|
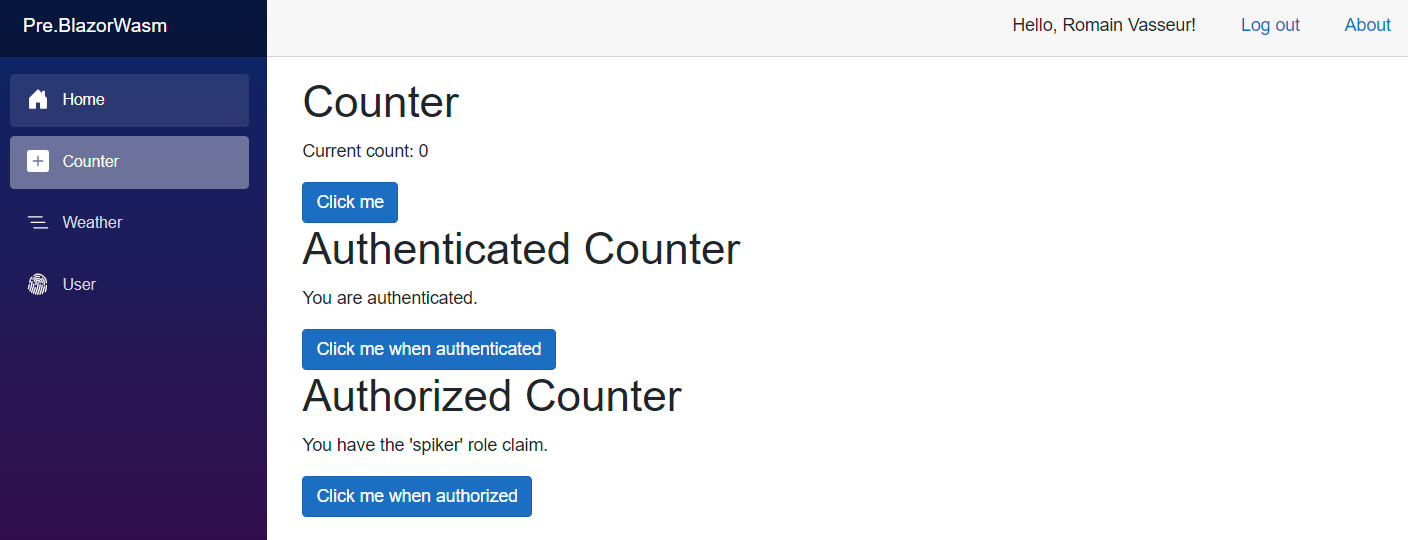
You can also complement your existing razor view leveraging matching AuthorizeView syntax. API checks will be covered later but more or less sticks to the same pattern, using Authorize attribute and its derivates to protect methods from unexpected usage. Below you can see how one could smoothly combine freely available content with authenticated or authorized ones within the same view. Of course, you can also define multiple versions of the same view and act as the routing level to properly dispatch.
 1
 2
 3
 4
 5
 6
 7
 8
 9
10
11
12
13
14
15
16
17
18
19
20
21
22
23
24
25
26
27
28
29
30
31
32
33
34
35
36
37
38
39
40
41
42
43
44
45
46
|
@page "/counter"

<PageTitle>Counter</PageTitle>

<h1>Counter</h1>

<p role="status">Current count: @_currentCount</p>

@* This button is always available *@
<button class="btn btn-primary" @onclick="IncrementCount">Click me</button>

<h1>Authenticated Counter</h1>

@* This button is available if user is authenticated *@
<AuthorizeView>
    <Authorized>
        <p>You are authenticated.</p>
        <button class="btn btn-primary" @onclick="IncrementCount">Click me when authenticated</button>
    </Authorized>
    <NotAuthorized>
        <p>You're not authenticated.</p>
    </NotAuthorized>
</AuthorizeView>

<h1>Authorized Counter</h1>

@* This button is available if user is authorized, here with 'spiker' role *@
<AuthorizeView Roles="spiker">
    <Authorized>
        <p>You have the 'spiker' role claim.</p>
        <button class="btn btn-primary" @onclick="IncrementCount">Click me when authorized</button>
    </Authorized>
    <NotAuthorized>
        <p>You're not authorized.</p>
    </NotAuthorized>
</AuthorizeView>


@code {
    private int _currentCount = 0;

    private void IncrementCount()
    {
        _currentCount++;
    }
}
|
You may encounter issue if a user is assigned with multiple roles within a single application as it is not properly handled by default on .NET side. In that case, a workaround to flatten roles can be applied on the application side to deal with it.
Closing
We see today how one could locally setup a compelling RBAC stack to play with. It allows for fast prototyping of usage for both product management and R&D. It also streamlines CI/CD pipeline by ensuring we leverage the same underlying tooling. Nothing will change at the end but the Authority endpoint. I do think it is what we call seamless scaling..
Authentication and authorization are cross-cutting concerns and thus must be dealt with accordingly. Ensure using either attribute, decorator or injection patterns to avoid mixing those dimensions within your code base, ie noising every single method with related plumbing. As for other cross-cutting concerns, this way of doing is not sustainable. Here, .NET framework provides both dependency injection helpers to enrich our host and built-in attributes and tags to decorate our code base with in a declarative fashion.
Annex
Docker compose
 1
 2
 3
 4
 5
 6
 7
 8
 9
10
11
12
13
14
15
16
17
18
19
20
21
22
23
24
25
26
27
28
29
30
31
32
33
34
35
36
37
38
39
40
41
42
43
44
45
46
47
48
|
x-app:
  &default-glue
  networks:
    - rbac-nw
  extra_hosts:
    - "host.docker.internal:host-gateway"

services:

  blazoroidc:
    <<: *default-glue
    image: blazoroidc
    build:
      context: Pre.BlazorWasm
      dockerfile: Dockerfile
    ports:
      - "5000:80"
      - "5001:443"

  # https://github.com/bitnami/containers/blob/main/bitnami/keycloak/docker-compose.yml
  keycloak:
    <<: *default-glue
    image: docker.io/bitnami/keycloak:23.0.4
    # environment:
    # - KEYCLOAK_ADMIN_USER=user
    # - KEYCLOAK_ADMIN_PASSWORD=bitnami
    depends_on:
      - postgresql
    ports:
      - "8089:8080"

  postgresql:
    <<: *default-glue
    image: docker.io/bitnami/postgresql:11
    environment:
      # ALLOW_EMPTY_PASSWORD is recommended only for development.
      - ALLOW_EMPTY_PASSWORD=yes
      - POSTGRESQL_USERNAME=bn_keycloak
      - POSTGRESQL_DATABASE=bitnami_keycloak
    volumes:
      - 'postgresql_data:/bitnami/postgresql'

volumes:
  postgresql_data:
    driver: local

networks:
  rbac-nw:
|
Dockerfile
 1
 2
 3
 4
 5
 6
 7
 8
 9
10
11
12
13
14
15
16
17
18
19
20
21
22
23
24
25
26
|
# -------------------------------------
FROM mcr.microsoft.com/dotnet/aspnet:8.0 AS base
WORKDIR /app
EXPOSE 80
EXPOSE 443

# -------------------------------------
FROM mcr.microsoft.com/dotnet/sdk:8.0 AS build
WORKDIR /src

COPY Pre.BlazorWasm.csproj .
RUN dotnet restore Pre.BlazorWasm.csproj

COPY . .
RUN dotnet build Pre.BlazorWasm.csproj -c Release -o /app/build

# -------------------------------------
FROM build AS publish
RUN dotnet publish Pre.BlazorWasm.csproj -c Release -o /app/publish /p:UseAppHost=false

# -------------------------------------
FROM nginx:alpine AS final
WORKDIR /usr/share/nginx/html

COPY --from=publish /app/publish/wwwroot .
COPY nginx.conf /etc/nginx/nginx.conf
|
Keycloak client export
 1
 2
 3
 4
 5
 6
 7
 8
 9
10
11
12
13
14
15
16
17
18
19
20
21
22
23
24
25
26
27
28
29
30
31
32
33
34
35
36
37
38
39
40
41
42
43
44
45
46
47
48
49
50
51
52
53
54
55
56
57
58
59
60
61
62
63
64
65
66
67
68
69
70
71
72
73
74
75
76
77
78
79
|
{
  "clientId": "rbac-client",
  "name": "",
  "description": "",
  "rootUrl": "",
  "adminUrl": "",
  "baseUrl": "",
  "surrogateAuthRequired": false,
  "enabled": true,
  "alwaysDisplayInConsole": false,
  "clientAuthenticatorType": "client-secret",
  "secret": "yX3HxuUoPwNP4dOr47FAptP12mcCJsDL",
  "redirectUris": [
    "http://localhost:5000/authentication/logout-callback",
    "https://localhost:44371/authentication/logout-callback",
    "http://localhost:5000/authentication/login-callback",
    "https://localhost:44371/authentication/login-callback"
  ],
  "webOrigins": [
    "http://localhost:5000"
  ],
  "notBefore": 0,
  "bearerOnly": false,
  "consentRequired": false,
  "standardFlowEnabled": true,
  "implicitFlowEnabled": true,
  "directAccessGrantsEnabled": true,
  "serviceAccountsEnabled": false,
  "publicClient": false,
  "frontchannelLogout": true,
  "protocol": "openid-connect",
  "attributes": {
    "oidc.ciba.grant.enabled": "false",
    "client.secret.creation.time": "1705591172",
    "backchannel.logout.session.required": "true",
    "display.on.consent.screen": "false",
    "oauth2.device.authorization.grant.enabled": "false",
    "backchannel.logout.revoke.offline.tokens": "false"
  },
  "authenticationFlowBindingOverrides": {},
  "fullScopeAllowed": true,
  "nodeReRegistrationTimeout": -1,
  "protocolMappers": [
    {
      "name": ".NET client role",
      "protocol": "openid-connect",
      "protocolMapper": "oidc-usermodel-client-role-mapper",
      "consentRequired": false,
      "config": {
        "introspection.token.claim": "true",
        "multivalued": "true",
        "userinfo.token.claim": "true",
        "id.token.claim": "true",
        "access.token.claim": "true",
        "claim.name": "roles",
        "jsonType.label": "String",
        "usermodel.clientRoleMapping.clientId": "rbac-client"
      }
    }
  ],
  "defaultClientScopes": [
    "web-origins",
    "acr",
    "profile",
    "roles",
    "email"
  ],
  "optionalClientScopes": [
    "address",
    "phone",
    "offline_access",
    "microprofile-jwt"
  ],
  "access": {
    "view": true,
    "configure": true,
    "manage": true
  }
}
|
Multiple roles issue
1
2
|
builder.Services
       .AddScoped<AccountClaimsPrincipalFactory<RemoteUserAccount>, RolesAccountClaimsPrincipalFactory>();
|
 1
 2
 3
 4
 5
 6
 7
 8
 9
10
11
12
13
14
15
16
17
18
19
20
21
22
23
24
25
26
27
28
29
30
31
32
33
34
35
36
37
38
39
40
41
42
43
44
45
46
47
48
49
|
using System.Security.Claims;
using System.Text.Json;
using Microsoft.AspNetCore.Components.WebAssembly.Authentication;
using Microsoft.AspNetCore.Components.WebAssembly.Authentication.Internal;

namespace Pre.BlazorWasm;

/// <summary>
/// Workaround multiple roles issue, see https://github.com/dotnet/AspNetCore.Docs/issues/17649#issuecomment-616253008
/// </summary>
internal sealed class RolesAccountClaimsPrincipalFactory : AccountClaimsPrincipalFactory<RemoteUserAccount>
{
    internal static readonly string RoleClaimName = "roles";

    public RolesAccountClaimsPrincipalFactory(IAccessTokenProviderAccessor accessor)
        : base(accessor)
    {
    }

    /// <summary>
    /// Flatten multiple roles by provisioning matching brand-new claims
    /// </summary>
    public override async ValueTask<ClaimsPrincipal> CreateUserAsync(RemoteUserAccount account,
                                                                     RemoteAuthenticationUserOptions options)
    {
        var user = await base.CreateUserAsync(account, options);
        // ReSharper disable once ConditionIsAlwaysTrueOrFalseAccordingToNullableAPIContract
        if (account != null && account.AdditionalProperties.TryGetValue(RoleClaimName, out var property))
        {
            var roles = property as JsonElement?;
            if (roles?.ValueKind == JsonValueKind.Array)
            {
                if (user.Identity is ClaimsIdentity identity)
                {
                    foreach (var claim in roles.Value
                                               .EnumerateArray()
                                               .Select(e => e.GetString() ?? string.Empty)
                                               .Where(s => !string.IsNullOrWhiteSpace(s))
                                               .Select(s => new Claim(RoleClaimName, s)))
                    {
                        identity.AddClaim(claim);
                    }
                }
            }
        }

        return user;
    }
}
|